Today we give you tips to designs your embroidered shirt neckline according to embroidery shape. Well many times after buying embroidered dress we get confused that what type of neck design suits on shirt. So after reading this tutorial in future you get rid off from confusion.
1- Before making of thinking for any neck style please first look at what kind of shape embroidery actually have in neck.
2- Don't go for stylish neckline with embroidered shirts because it can cause the damage of dress look.
3- Dress is casual or formal, if casual then you can take risk of any mistake but if formal then carefully follow every step.
4- After getting idea of shape of neckline please draw the graph on paper then draw on stitch witchery.
5- alway take half inch extra in stitch witchery with actual size of neck.
6- Always remember the size of neck; which is 7 inch wider and 6.5 inch deeper.
To know how to cut kameez click at link.
After following all do and don'ts; we can start the Best piping neckline tutorial for our embrodired shirt.
Below you can see my shirt piece which include wider neck as compare to length, dress maker has gave u shape at top but down shape is like test tube. So i have chosen u shape as per dress but below we have chosen V shape because if we insert two same shapes then neck will look ugly. You also follow the guideline that never apply two same shapes at the same time in neckline.
After taking inspiration i have made graph on stitch witchery and cut it off with right size and shape; below you can see the sample of neck; in which Point A to Point B is giving the idea of width and C-D is deepness.
Now we have heated the iron and attached the stitched witchery neck with front part of shirt carefully looking the edges. Below we have cut off the sample for the piping neckline tutorial for embroidered shirts - Lesson 8.
Now our front part of shirt is ready to make the neckline on it so we will arrange the piping to join on it or cut piping at home by taking handkerchief shape fabric.Unfortunately; we don't have ready made piping so we are cutting in bevel shape strip with half inch width and 25 inches length.
Now we cut off the extra fabric which was inside the stitch witchery. Look above to know that what fabric we are talking about. Below is wrong part of fabric.
Here is right side of fabric with neat prints and embroidery.
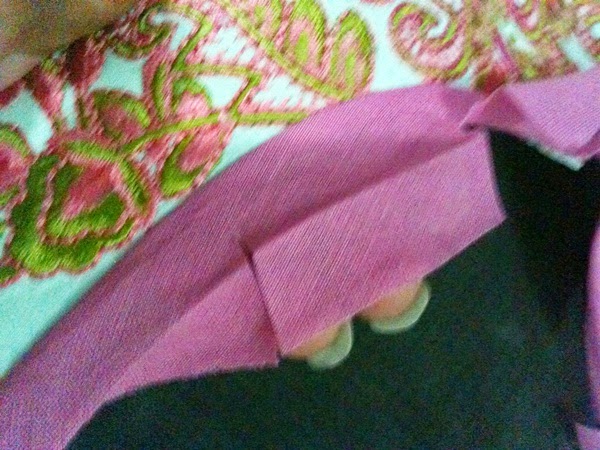
After cutting the extra fabric of inside the neck we will attach piping by laying right side of piping on right side of neck and stitch it via sewing machine. Remember don't leave so much fabric while stitching because it can damage the shape and you get thicker piping. below you can see how much fabric you have to leave to avoid thicker piping.
After attaching piping with neck we will giving small cuts in neckline so you will easily fold the piping to opposite side and get neater look.Here we have applied the cuts and then iron it.
Here you can see that how we have folded the piping on wrong part of shirt and stitched it.
Now we have folded the piping to opposite side and stitched it as per neck shape.
Now we cut off the extra piece of piping, and then iron the neck. now you can see the final look of piping neckline for embroidered shirts. Now we gonna make the back neck by following our previous tutorial and then join the shoulders and sleeves with side folds and chalk stitching to complete the shirt.
Here is back neckline is ready with front and we have combined the shoulders and sleeves too. Shirt is ready
Our model has worn the shirt to show you that how this neckline will look when you wear it. :-)
Here is the full look of embroidered shirts on which we have applied the Best piping neckline tutorial of sewing and cutting lesson-8


Comments
Post a Comment
Hey Guys - We would love to here from you!!! Leave your comments below & share your thoughts + inspirations on current fashion, designs & trends or just say HELLO... :)
You can also reach us by clicking the Inquiries button below your screen.